
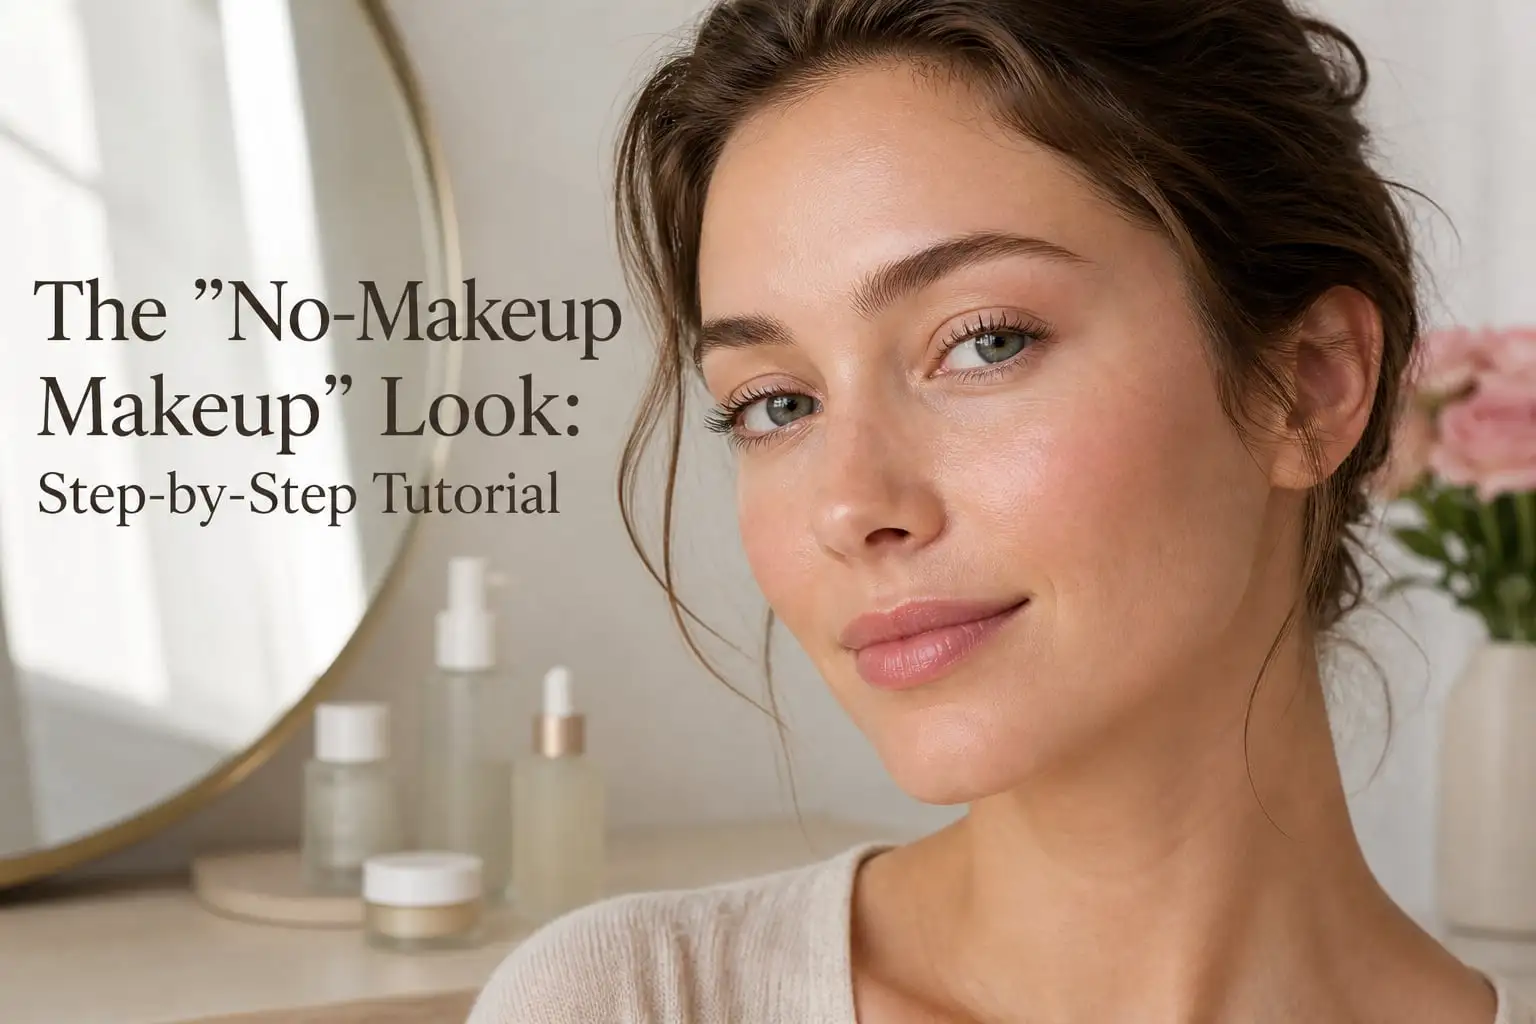
I still remember the first time a friend asked me what I was wearing on my face, and when I told her, she blinked in disbelief. That is the magic of a no-makeup makeup look – your skin looks fresh, your features look brighter, and no one can quite tell what you did.
In this step-by-step 2026 tutorial, I’ll walk you through the exact no-makeup makeup routine I’ve refined over hundreds of mornings. We’ll cover skin prep, sheer coverage, cream blush, soft eye makeup, and the small finishing touches that make your skin look like better skin rather than makeup.
What Is the No-Makeup Makeup Look? (and Why It’s Different From Just Wearing Less?)
The no-makeup makeup look is a technique that enhances your natural features using minimal, sheer products to create a polished yet seemingly bare appearance. The goal is for your skin to look like skin, only better rested, more even, and lightly glowing.
It is not the same as skipping makeup. A truly “no-makeup makeup” face still uses product – it just uses it strategically. You are correcting redness, blurring pores, adding a hint of color, and bringing light back to the face without changing what you actually look like.
I think of it as skin-first makeup. Most of your time goes into skincare prep. The actual color products are often tinted moisturizers, cream blushes, and lip balms that disappear into the skin. If someone can guess the brand of your foundation from across the room, you have gone too far.
How to Do a No-Makeup Makeup Look Step by Step?
Here is the eight-step routine I use when I want to look like myself, just slightly improved. Each step answers a real question I had when I was learning – and the answers are backed by what professional artists and years of trial have taught me.
Step 1: Prep Your Skin (the Real Foundation)
No product will look natural without the right canvas. I start every no-makeup day with clean, hydrated skin.
I cleanse, apply a lightweight serum, then layer on moisturizer. Give it five minutes to sink in before reaching for any makeup. If your skin still feels tacky, the next product will pill.
Sunscreen is non-negotiable for me. A daily SPF not only protects against future damage but gives you the kind of even, healthy tone that no concealer can truly replicate. If you skip everything else, keep this.
Step 2: Apply Sheer Foundation or BB Cream
For sheer coverage, I prefer a tinted moisturizer, BB cream, or serum foundation. These formulas even out tone without sitting on top of the skin.
Dot the product across your cheeks, forehead, nose, and chin. Then blend outward from the center of your face. I use my fingers for this step – the warmth helps the product melt in and avoids the streaky look that some brushes leave behind.
One thin layer is usually enough. The whole point is to let your real skin show through. If a blemish shows through, that is what step 3 is for.
Step 3: Spot Conceal Strategically
Forget about covering your whole face. Spot concealing means placing a tiny amount of concealer only where you need it – a dark circle, a red patch around the nose, a stubborn spot.
I use a creamy, hydrating concealer one shade lighter than my skin tone for the under-eye area, and an exact match for spots. Tap it in with your ring finger or a small brush. Never swipe – swiping lifts the product off instead of blending it in.
Less is genuinely more here. Two precise dots under each eye and one on a blemish will do more than a thick layer over everything.
Step 4: Add Cream Blush for a Natural Flush
Nothing sells a no-makeup makeup look faster than cream blush in the right place. Powder blush can sit on top of the skin and read as makeup; cream blush seeps in and reads as a healthy flush.
Smile, find the apples of your cheeks, and tap the product there with your fingers. Then blend upward toward the temples. For extra dimension, I sometimes dab a tiny bit on my temples, the bridge of my nose, and chin – anywhere the sun would naturally hit.
Colors that mimic a real flush work best: soft pink, peachy rose, warm berry. Avoid anything too saturated – those tend to look obvious even in thin layers.
Step 5: Create Soft Eye Definition
Eyes are usually where beginners overdo it. For a natural makeup look step by step, you want definition, not drama.
I curl my lashes and apply one – just one – coat of mascara in brown or soft black. Brown reads softer and more daytime-appropriate than black. If my lashes already have enough lift, I skip mascara entirely.
For a touch of depth on the lid, I press a warm cream eyeshadow (think taupe, soft bronze, or muted rose) onto the center of the lid with my finger. Cream shadow keeps the eye area looking fresh and unwrinkled – powder shadow can emphasize any texture.
Step 6: Define Brows Gently
Brows frame everything else. Even if you do nothing else, filling in sparse spots makes the whole face look more put together.
I use a brow pencil or tinted gel that matches my natural hair color (not darker). I fill in only the gaps, following the direction of hair growth, then brush through with a spoolie to soften any harsh lines.
The goal is shapely, not sculpted. If a brow looks drawn on, you’ve made it too obvious.
Step 7: Apply Natural Lip Color
Lip color ties everything together without weighing down the face. A tinted lip balm is the easiest no-makeup option – it hydrates and adds just enough pigment to look polished.
If I want a little more, I’ll use a satin-finish lipstick in a “my lips but better” shade. Think rosy nude, soft mauve, or a sheer berry. Avoid matte or long-wearing formulas here – they tend to look too deliberate against an otherwise fresh face.
I blot with a tissue after applying to take away any obvious shine. That single step is what makes lip color look like a stain rather than lipstick.
Step 8: Set with a Hydrating Mist
Setting spray isn’t just for staying power – especially a hydrating mist. It melts everything together and gives the skin that final lit-from-within look.
I hold the bottle about 10 inches from my face and mist in an X and then a T pattern. Let it dry naturally – do not touch your face.
If you have oily skin, look for a setting spray labeled “long-wearing” or “oil-control.” If you are dry, a dewy or hydrating formula is a better match.
Tips, Mistakes, and Skin-Type Adaptations
Even a beautiful routine falls apart without a few key tweaks. These are the adjustments I’ve learned to make for different skin types, time constraints, and the small errors that ruin the whole look.
The 5-Minute Quick Version
When I am rushing out the door, I cut the routine to four steps only: moisturizer with SPF, a tinted moisturizer I blend with my fingers, a cream blush tapped on cheeks and lips, and a slick of brow gel.
That gets you about 80 percent of the no-makeup makeup look in five minutes flat. It is what I wear on most work-from-home video calls.
Common Mistakes to Avoid
The first mistake is going too heavy on foundation. Sheer coverage is the entire premise. If you can see the product sitting on your skin, you have applied too much.
The second is using the wrong undertone. A foundation that is too pink or too yellow will look off even in the thinnest layer. Test on your jawline in natural light before committing.
The third is forgetting to blend at the edges. Harsh lines around the jaw, hairline, or nose are an instant giveaway. Use whatever is left on your fingers to soften these spots.
The fourth is skipping setting spray. Without it, the look melts off within hours and gathers in fine lines – which is the opposite of effortless.
How to Adapt the Routine for Your Skin Type?
Oily skin: Use a mattifying primer before your tinted moisturizer and a long-wearing setting spray. Stick with powder only on the T-zone where you need it – cream blush still works beautifully everywhere else.
Dry skin: Layer an emollient-rich moisturizer and a hydrating primer. Cream and liquid formulas only. Skip powder entirely.
Acne-prone skin: Treat blemishes with a medicated product first, then spot conceal after it has dried. Avoid heavy foundation over active breakouts – it makes texture more obvious, not less.
Mature skin: Stay away from matte or heavy powder products, which settle into fine lines. Cream and serum formulas bounce light and look more youthful.
Deep skin tones: A lot of no-makeup advice defaults to fair-skinned guidance. Look for undertones that complement your skin (red, blue, or yellow undertones each need different bases) and choose colors that look healthy on your complexion rather than just light or dark.
Fingers vs Brushes vs Sponges
For sheer coverage, your fingers are usually the best tool. The warmth helps sheer formulas melt into the skin, and you waste less product.
A damp beauty sponge works well for blending concealer or buildable coverage. It gives an airbrushed finish but absorbs some product, so use a touch more than you think you need.
Brushes create the most polished finish, but they are also the easiest to overdo with sheer formulas. If you use a brush, tap off any excess before applying.
No-Makeup Makeup Look FAQs
How do I create a no-makeup makeup look step-by-step?
Start with clean, moisturized skin and SPF. Apply a tinted moisturizer or BB cream in a thin layer, spot-conceal any redness or dark circles, tap cream blush on the cheeks, curl lashes and add one coat of mascara, fill in sparse brow spots, and finish with a hydrating setting mist. The whole routine takes about 10 minutes and uses six to eight products.
How to look made up without makeup?
You can look polished without heavy makeup by focusing on skin prep, blurring redness with sheer coverage, adding a natural flush with cream blush, defining brows and lashes lightly, and hydrating the lips with a tinted balm. The result is healthier-looking skin rather than visible product.
How to make your face look good with no makeup?
Great skin is built, not applied. Drink water, cleanse gently, moisturize daily, wear SPF every morning, and get enough sleep. Use a tinted balm on lips, a tinted brow gel, and cream blush on the cheeks if you want subtle color. Healthy skin is the best base for the no-makeup look.
How to do a natural makeup look step by step?
Prep skin with moisturizer and SPF, dot a sheer tinted moisturizer across the face and blend outward, spot-conceal only where needed, tap cream blush on the cheeks, add one coat of mascara, fill in brow gaps with a tinted pencil, and finish with a tinted lip balm and a hydrating setting mist. Each step should disappear into the skin so the result looks fresh rather than made up.
Wrapping Up Your No-Makeup Makeup Look
For the everyday minimalist, the full eight-step routine gives you the most polished result with the lightest possible finish. For the rushed morning, stick to the four-step quick version – moisturizer, tinted base, cream blush, brow gel – and you’ll still look intentional.
If you have acne-prone skin, lean into spot concealing and skip heavy foundation. If you have mature skin, swap every matte powder for a cream formula. If you have a deeper skin tone, build your palette around undertones that complement your complexion rather than mimicking fair-skin advice. The no-makeup makeup look is really a philosophy: less product, more skin, and a finished face that looks like you on your best day.
Try this step-by-step 2026 tutorial for a week and notice which step makes the biggest difference for you – that is the one to keep, and that is the one to build your whole routine around.